From painted architraves and scalloped door frames to tiled floor patches and bordered rugs, these clever outlines not only look gorgeous, but they help with zoning, too…
As kitchens, bedrooms, and bathrooms become multifunctional spaces where open-plan layouts are often favoured over closed rooms, the need for zoning has never felt more important. And while there are many ways to do it right, one of the most creative ones is to use decorative borders.
Think bordered rugs, a painted arch, or a tiled border framing your shower enclosure. These super-fun outlines offer an easy way to define an area within your space while injecting plenty of wow factor in it – plus, we’re now seeing more and more of them being used to simply add character, even when zoning is not the goal.
So, how would you go about creating playful or striking borders to accentuate some features within your home? We’ve asked the experts to find out.
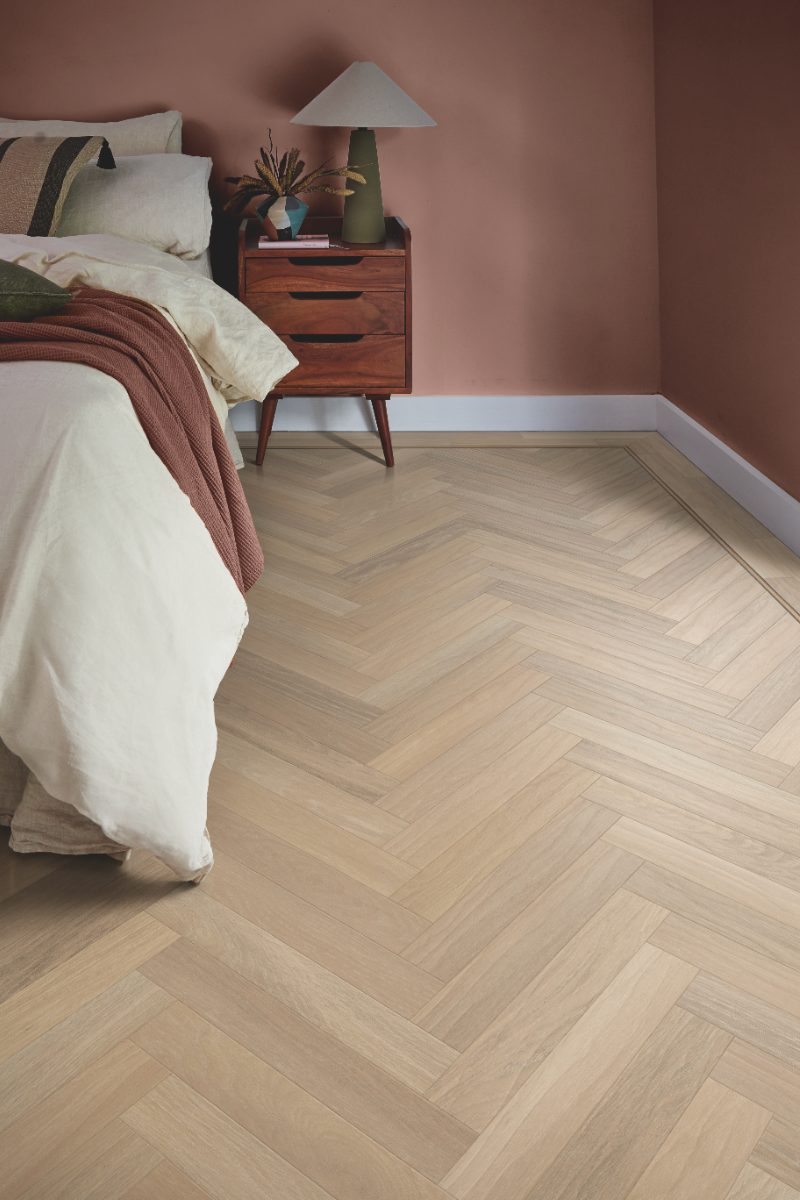
1. Design stunning borders on your floor
Walls and floors are among the most used features to unleash your creativity when it comes to decorative borders. So, why not start with the latter, to define specific areas in your room? “When translated into LVT, borders become a modern, flexible way to add refinement without disrupting flow,” says Rebecca Bowers, product manager at Karndean Designflooring.
You can introduce either a keyline, created using a single design strip, or a tram line, which uses two parallel design strips laid close together and is usually combined with a surrounding border to frame the room.
“Used on its own, a keyline is ideal for zoning open-plan layouts – for example outlining a kitchen island or defining a dining area – while allowing the same floor to run throughout,” adds Rebecca, who also recommends pairing it with a surrounding border, with the keyline typically laid just inside the border itself, to introduce an extra layer of detail. “This combination softens the transition between the main floor and the border and offers a contemporary take on classic flooring details.”
Meanwhile, the tram line sits inside the main border, which is often created using planks or parquet, same as the main floor, but laid in a contrasting direction.
Changing laying patterns
Alternatively, Rebecca recommends simply framing a space by using just these matching planks or parquet laid in a different direction. In general, by choosing different laying patterns to create a border, you can bring to life all kinds of zones and sections; from a kitchen island to a living area or a tiny reading nook.

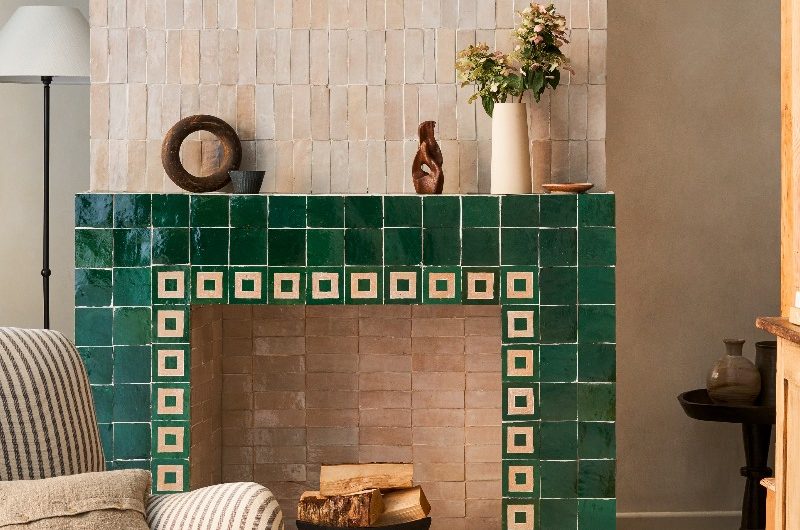
“For example, a bordered area framing a fireplace, or a subtle change in pattern to distinguish a reading nook can add depth and structure to a room. These techniques help elevate everyday spaces, making them feel intentional and thoughtfully designed,” says Lorna Williams, head of design and visual creation at Amtico.
2. Add statement stone outlines
Other ways to frame patches of flooring may include using natural stone, tiling, or simply introducing a bordered rug, with the first two working just as well on walls. But how can each of them be achieved?
“Stone borders bring a sense of individuality and craftsmanship. We’re seeing them used throughout the home, often to accent an otherwise simple scheme, for example pairing plain flooring with a vibrant stone border to create a more defined look,” says Urvashi Agarwal, creative director at Stone World London.

Or, think about combining different types of flooring to create contrast. “This might mean introducing a marble border to frame wooden flooring, or using stone to subtly highlight key areas within a room,” explains Urvashi.
“They’re also an ideal way to be braver with colour and pattern. While a deeply veined stone might feel too bold across a large surface like a kitchen island, incorporating stones such as Cipollino Verde, Rosso Levanto, Four Seasons Pink, or Cosmopolitan as a border allows you to introduce character and interest on a smaller, more considered scale,” she adds.
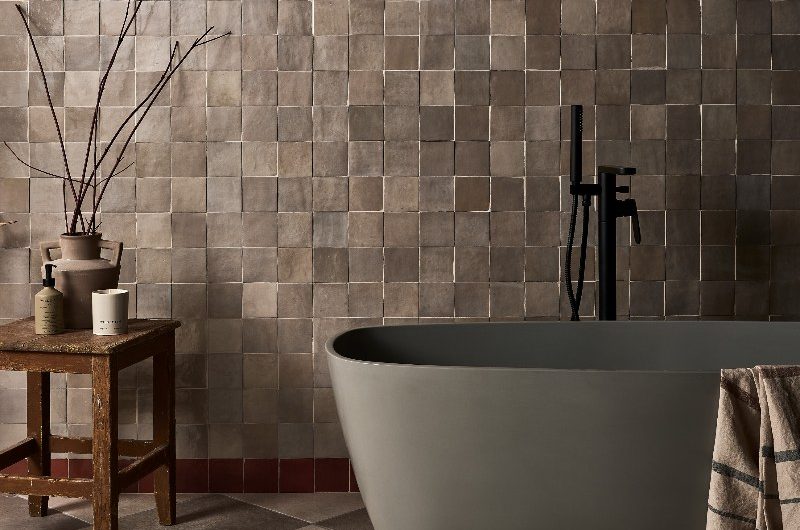
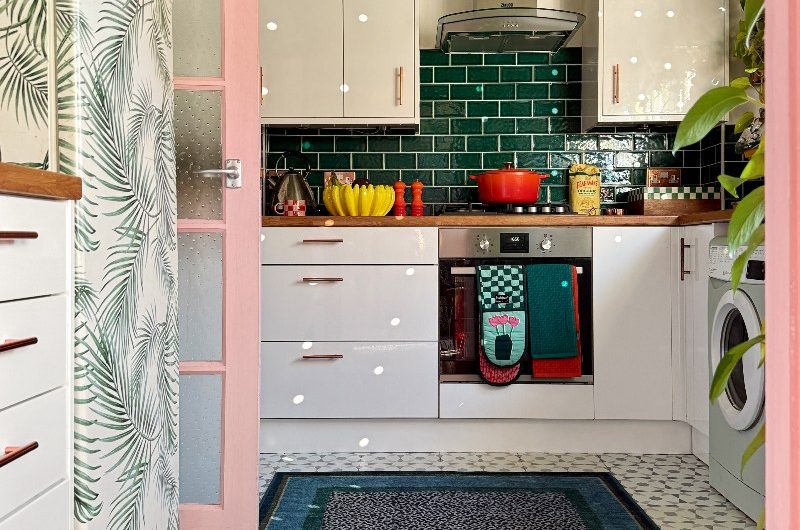
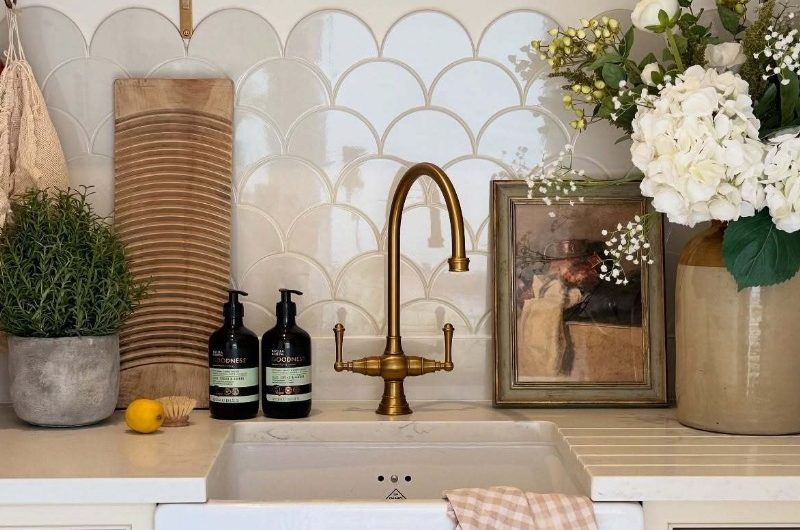
3. Introduce eye-catching tiled borders
“Using tiles to create a border is one of the clearest ways to bring definition and purpose to a space,” says Grazzie Wilson, head of creative at Ca’ Pietra. “A tiled border works because it gives a visual edge to something that might otherwise feel unresolved, acting almost like a drawn line that tells the eye where one element starts and another ends.”
You can use tiling to outline a specific zone, such as on the floor around your vanity unit, on the wall to make the bath area stand out, or even on your fireplace surround.

Tiled kitchen borders
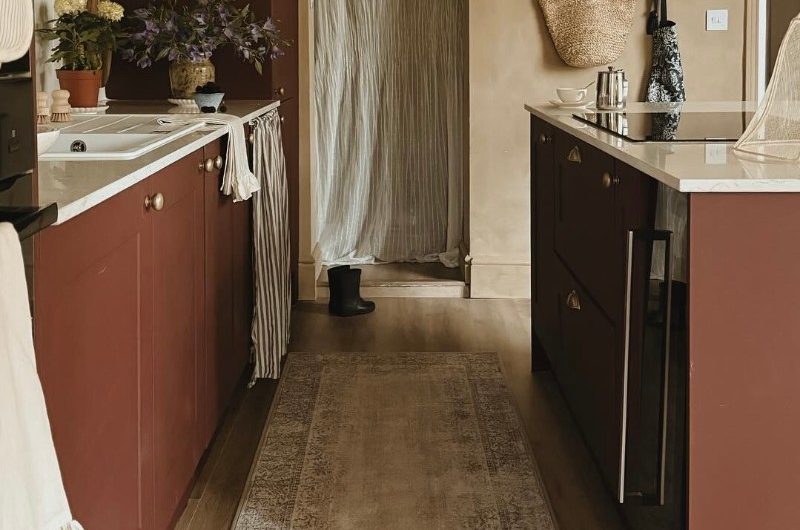
When using them on the kitchen floor, Gareth Davies, design director at Classic Interiors, advises treating tiles like a rug, framing, for example, “the working kitchen in a field of tile with a 50-100mm border strip in stone, porcelain, or a brass/stainless trim, then switching to timber or softer flooring beyond”.
Gareth also advises keeping the palette tight with one main tile and one border accent so that the line defines the space rather than competing with it, and aligning tile borders with cabinetry plinth lines and islands for calm geometry.

“For a bold effect you can build a tiled border into the main layout by weaving in a lighter shade,” adds Louisa Swannell, head of marketing at Walls and Floors. “You can then use the grout to either sharpen the contrast or soften it depending on the feel you are looking to create.”
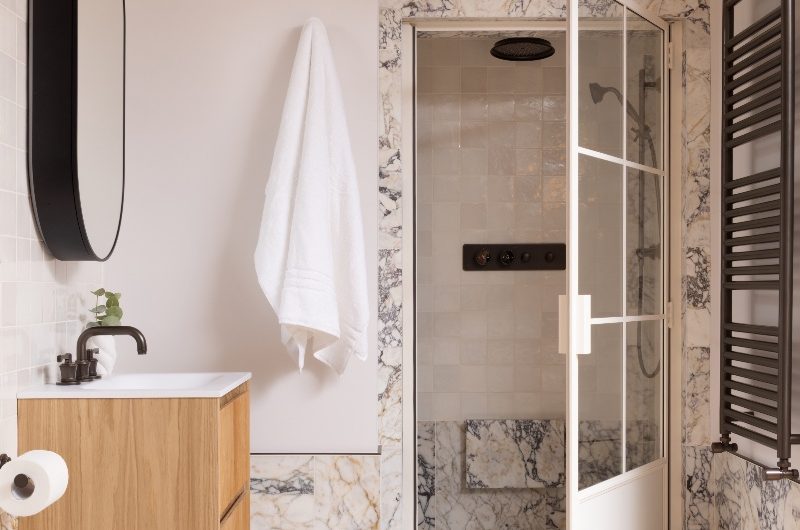
Bathroom ideas
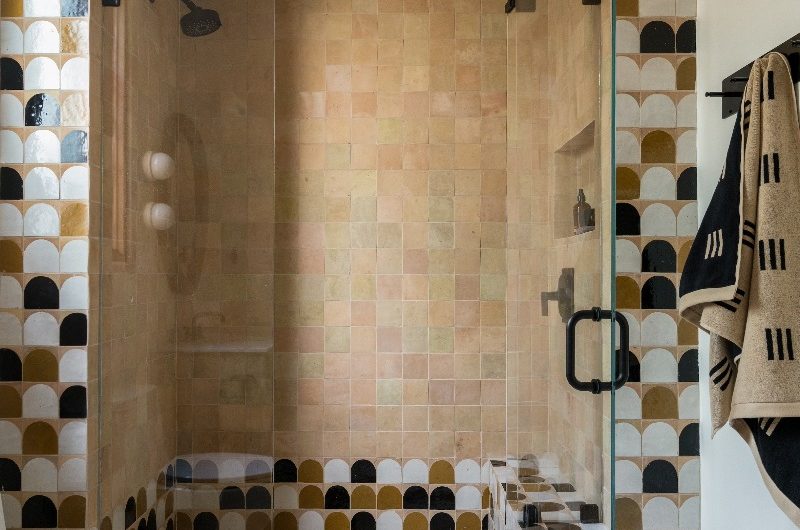
Tiled borders are also a good idea around shower enclosures or as door frames. “Using tiling to frame a shower, particularly when it runs seamlessly from the floor and up around the door opening, creates a strong visual statement that naturally draws the eye,” explains Louise Ashdown, head of design at West One Bathrooms.
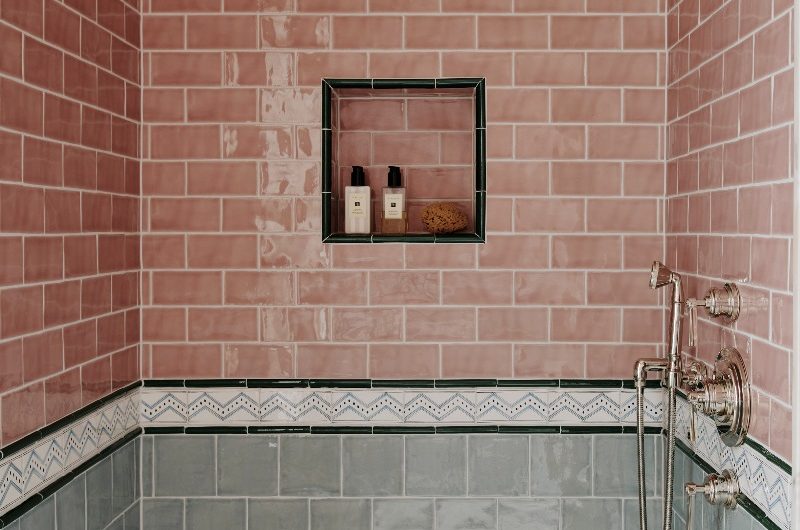
“This kind of border detailing creates a focal point and a sense of stepping into a beautifully defined, spa-like zone. Natural materials such as marble work especially well here,” she adds.
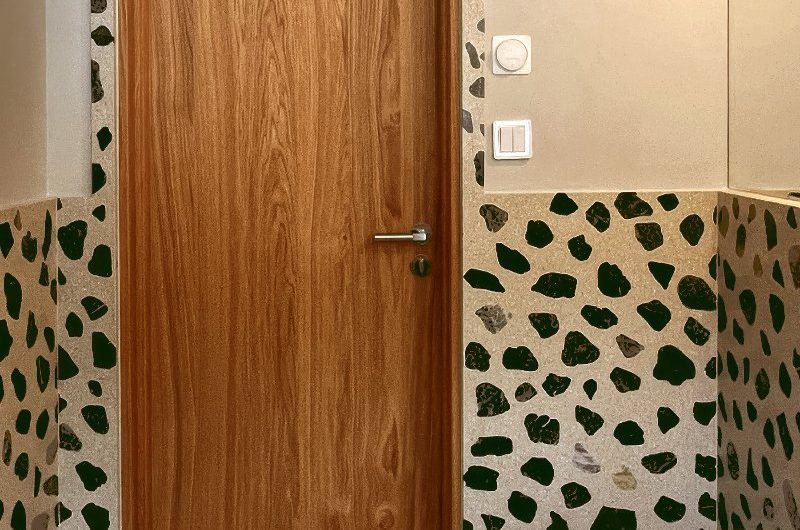
Don’t forget about the whimsical terrazzo, either, which has become extremely popular lately. “Terrazzo is particularly well suited to creating borders, thanks to its versatility and scope for customisation,” notes Amanda Shaw, showroom manager at Mosaic Factory.
“It can be produced in different colours, aggregates, and formats, making it ideal for matching skirting tiles, defined border details, or extending the floor halfway up the wall for a more cohesive, enveloping effect.”
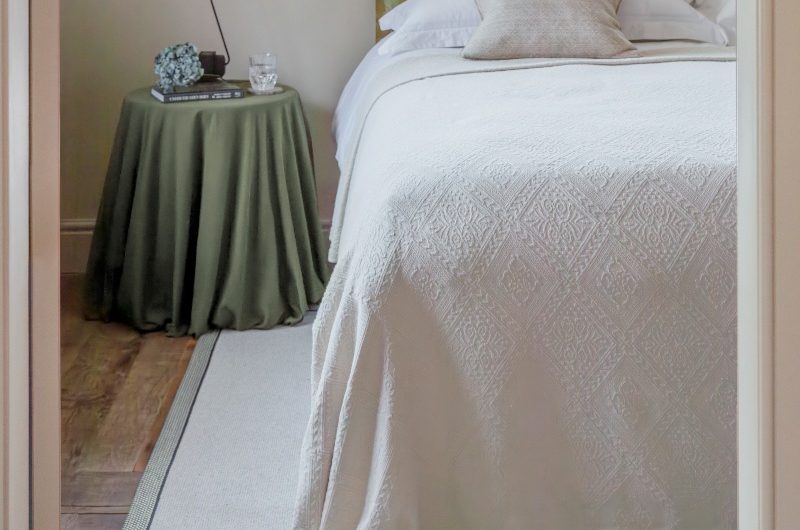
4. Include bordered rugs
Probably the most non-invasive way to create a decorative border, a rug with a distinct edge will instantly break up the space, define a zone, or simply add a characterful touch to your room.
“A border rug is a simple but effective way to add visual interest to kitchen floors, as well as introducing softness underfoot that contrasts with the typically hard flooring used in kitchens,” says Lizzie Mosley, creative director at Hug Rug. “Bolder border rugs and runners are ideal for adding colour to a more pared-back space, or look to a more subtle border design in neutral colourways to introduce pattern without overwhelming the room.”
5. Use paint creatively
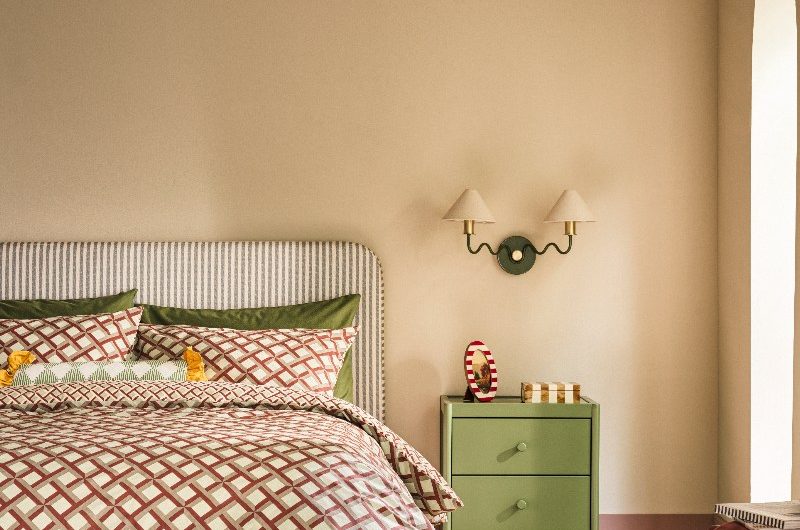
One of the easiest ways to create a decorative border is with paint. For example, consider painting a fun outline around your bedroom door – think scalloped, striped, or checked – or even a simple black line to create a subtle frame around the area you want to highlight.
“Whether it’s around your bedroom door frame or painted on the wall to look like a headboard, adding a subtle border with paint helps break up the space and add detailing,” says Cathryn Sanders, head of creative at Earthborn.
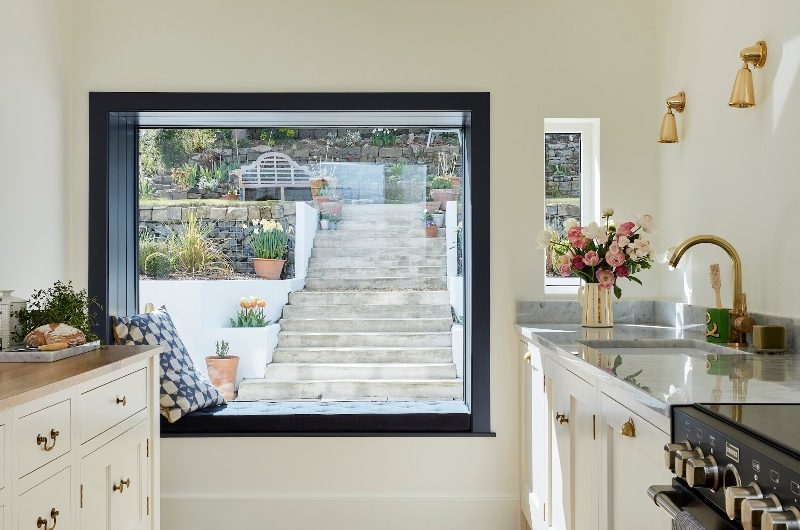
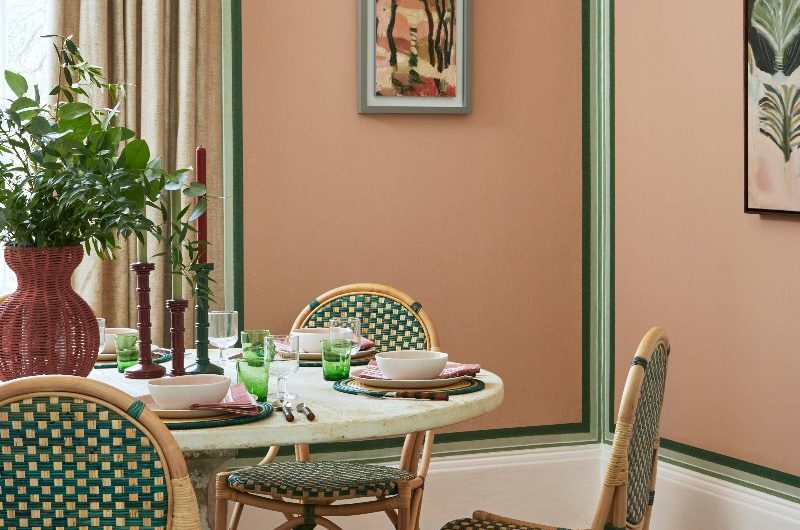
And Anna Hill, brand director and colour consultant at Fenwick & Tilbrook, adds that painted borders can turn functional elements into a design statement. “Whether you choose a shade that contrasts with the walls or complements them, painted borders can help frame views, enhance natural light, and add definition to rooms that lack character,” she continues.
It’s also worth keeping in mind that horizontal lines can make a room feel wider, while vertical ones will enhance height.
Highlighting decorative mouldings and details
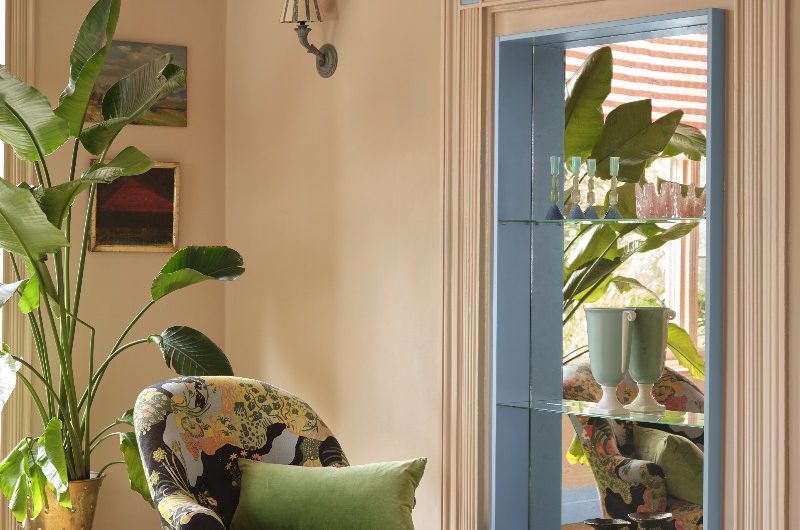
If you choose to accentuate your architraves by painting them a different colour, Roberta Cirstea, interiors expert at CR Group, advises using the same finish for the architrave and skirting to create a unified visual language throughout the space. “This continuity visually ‘wraps’ the room, making transitions between walls, doors, and openings feel seamless rather than segmented,” she explains.
Adam McGrory, managing director at MR Mouldings, also recommends choosing a durable eggshell or satin paint for trims, and a scuff-resistant wall paint if the border runs onto plaster, keeping sheen levels consistent so the outline looks deliberate. “For scallops or stripes, set out with a laser level and use a flexible template, keeping the radius or stripe width consistent across heads and legs so it doesn’t drift at corners,” he adds.
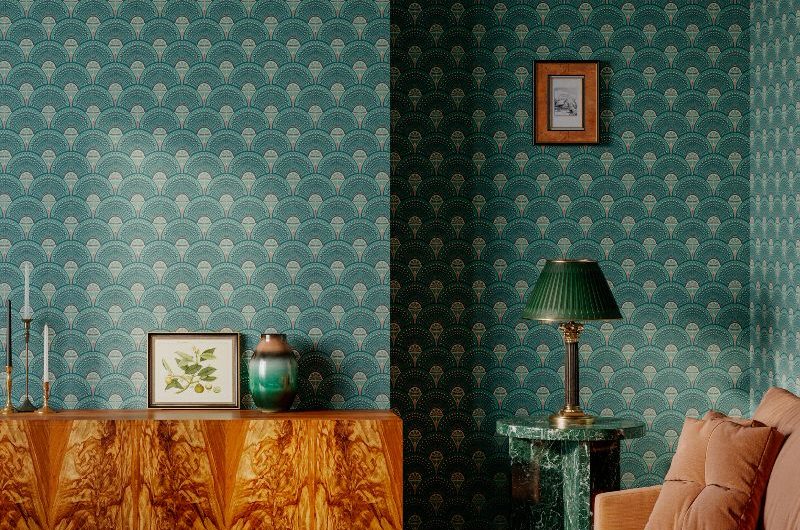
Colour capping
But even if you don’t opt for a crisp line, you can still create a subtle border by using the colour capping technique. This allows you to create a soft edge by building a gentle gradient using tones from the same colour family, which intensify towards the ceiling. The team at Divine Savages recommends getting the look by wallpapering up to the picture rail, then painting above it using the same colour as the ceiling.
6. Other features you can frame
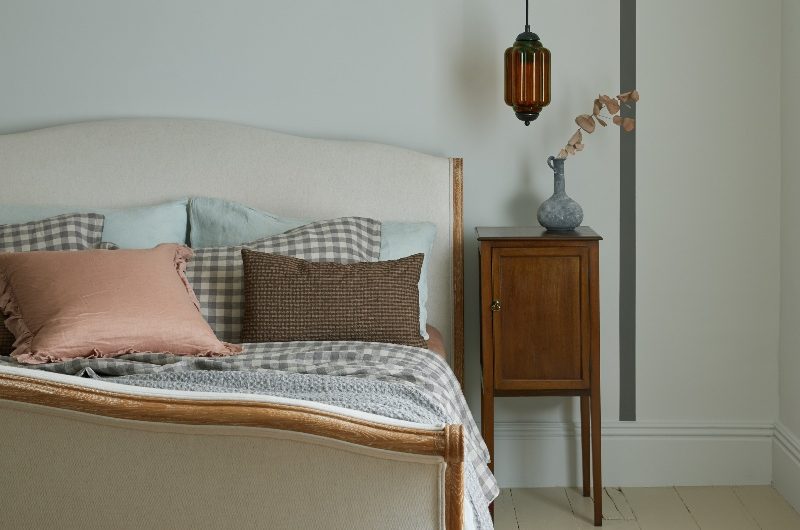
Other ways to create decorative borders include surrounding your range cooker with a distinct mantel, designing a tiled splashback that stands out from the rest of your wet zone, or opting for a headboard with a bold edge.
“On an upholstered headboard, including a border allows you to add depth and definition to the design,” says Emma Deterding, founder and creative director of Kelling Designs. “Whether you do this through a velvet border, piping, inlay or stitched detailing, it’s a great way to elevate a simple silhouette into an eye-catching design.”

Regarding the cooker mantel, Blanca Sanchez, director at Halo Design Interiors, advises to set the opening to the appliance width plus 15cm to 30cm each side so it feels substantial, observe the manufacturer’s clearances precisely (typically 65cm to 76cm above the hob to any combustible surface), and line undersides close to heat with a non-combustible board.
“Behind the hob, use stone, tiled slips or lacquered metal for durability, and build proper extraction into the canopy, ducted externally where possible, with discreet task lighting to the underside,” she continues. “Then colour-block the surround in a contrasting lacquer or timber finish so it frames the cooker, keeping corbels and pilasters slim to avoid visual heaviness.”
DIY decorative trim moulding
Finally, how about making your own decorative trim moulding to create a standout border? “Moulding trim offers a simple yet striking way to frame artwork, create definition, and bring depth to otherwise minimalist spaces,” says Nick Ee, product training manager at Black+Decker.
Nick explains you can create this all by yourself, but you first need to measure and map out exactly where you’d like the trim to sit, to determine how much moulding to buy and where your corner joints need to fall.
To cut the moulding, use a mitre box and hand saw to make precise 45-degree cuts, then position the pieces on the wall for a dry fit to check the alignment and make any adjustments.
“Once you’re satisfied with the layout, apply wood glue to the back of the trim and secure it in place using a nail gun or finishing nails. Fill any small holes with wood filler, sand smooth once dry, and finish with a coat of paint to match or contrast with your wall colour depending on the effect you want to achieve,” he concludes.
So, which of these decorative border details will you choose to shine a light on that special feature or zone in your home?