I am rejoining the renovation club with a hip-to-gable loft conversion with a rear dormer. Here, I’m discussing the first stage of the building works…
Despite the ginormous scaffolding cocooning my home, and a bright pink portaloo on my drive, for the first week or so of the loft conversion life was, pretty much, normal. It was pleasant to step outside, cup of tea in hand, and stand at the back of my garden and admire the works taking place; ‘this is fine’, I told myself. ‘Sure, there’s the occasional sound of drilling and sawing’ – but that’s as far as the impact went.
I enjoyed talking to the fantastic builders from Surrey Lofts, the process of bringing them their daily 11am-ish coffee (‘black, two sugars’ was the usual request) and getting our daily updates on the dedicated app about what was going on up there.
The first stage of the loft building works
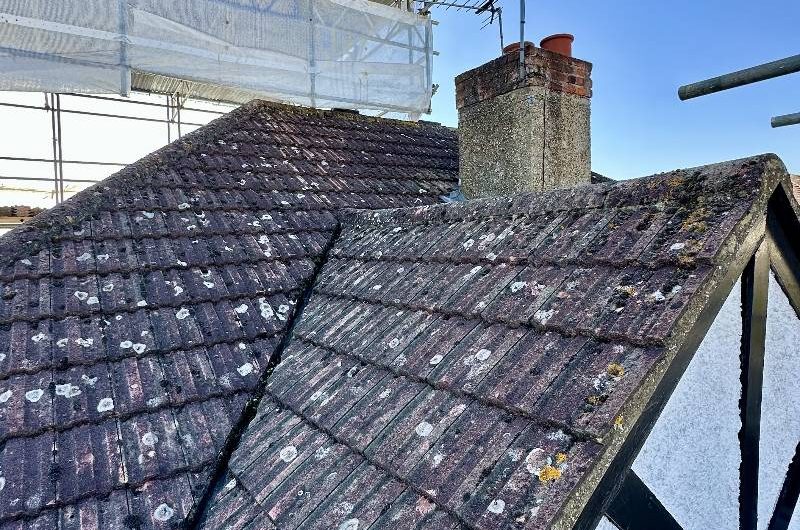
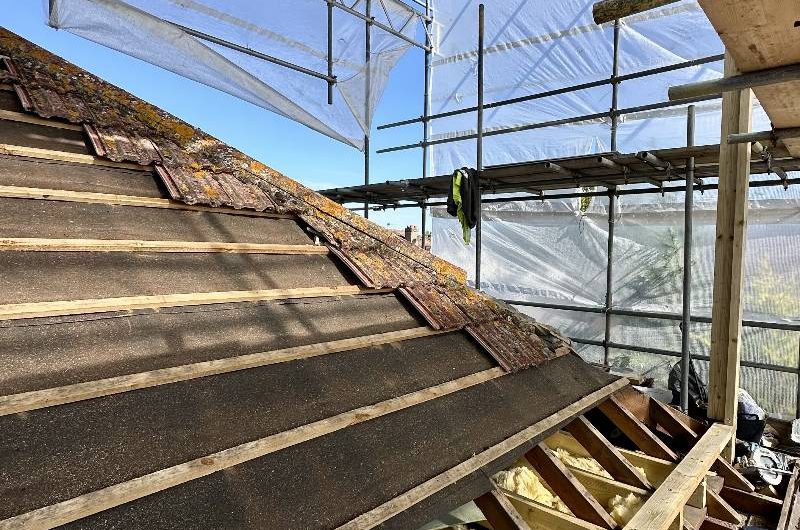
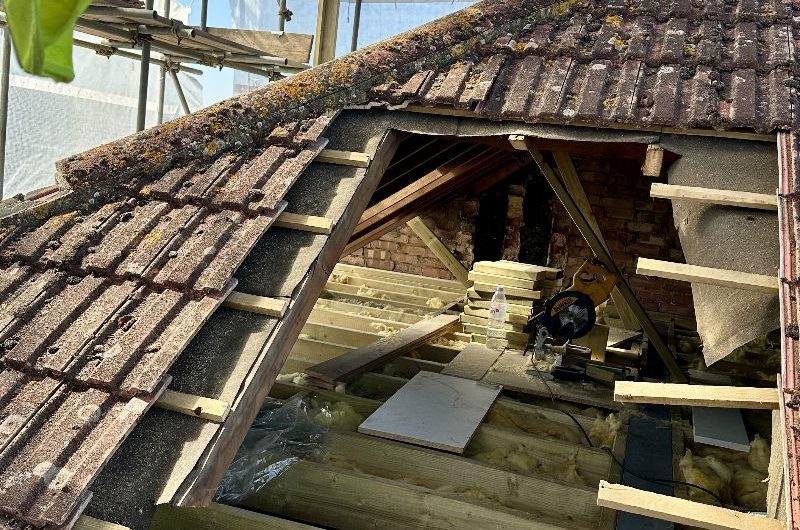
The first week saw the stripping out of the loft along with the building of the structural floor and the fitting of the steels. Week two, the construction of the flat roof and dormer began.
It wasn’t until week three that it suddenly felt very real and the stress (along with the sawdust, cold, and wind) started to seep in. It was during this time that I got home from the office, and the chaos hit me: the wall to the small bedroom had been removed, there was a great big hole in our ceiling, and the bones of a staircase rose from the landing up to the loft.

Shock and awe were my two first feelings. As my feet squeaked against the plastic-wrapped carpet, I realised that in just one day we went from no difference, to being in the middle of a building site. I told myself it wouldn’t be too bad – although, there were still no windows or a sealed roof.
The situation was far from ideal. Especially with two young children. Especially during Storm Amy which raged in September. The tarpaulin smacked and clanged against the metal beams, the ker-eeking and cer-unching of the scaffolding groaning under the wind. My girls (meaning we) didn’t sleep too well over those few days. But with the project already halfway, we stayed positive, knowing this was only a temporary problem that we were more than capable of conquering.
The process
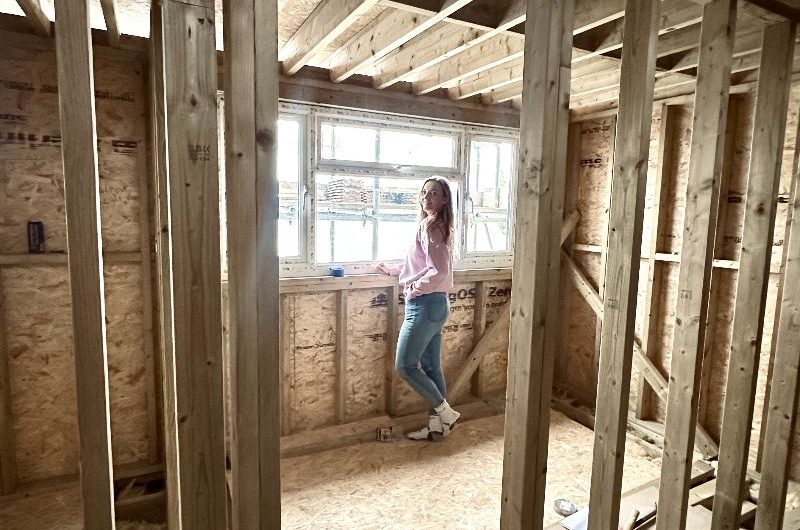
At the beginning of week four of building the loft, once the stairs were usable, we were able to walk around the new space, which felt incredible. It was during this week we had a design walk-around – which resulted in a complete internal mix-up as a more practical design was suggested.

A slightly stressful experience, I have to say, as my mind was set on the previous layout – not to mention the bathroom had already been designed and ordered. I was asked to make big changes in a small amount of time; the rush was due to the fact that the first fix of electrics and plumbing was imminent – which couldn’t happen without the new floorplan being approved.
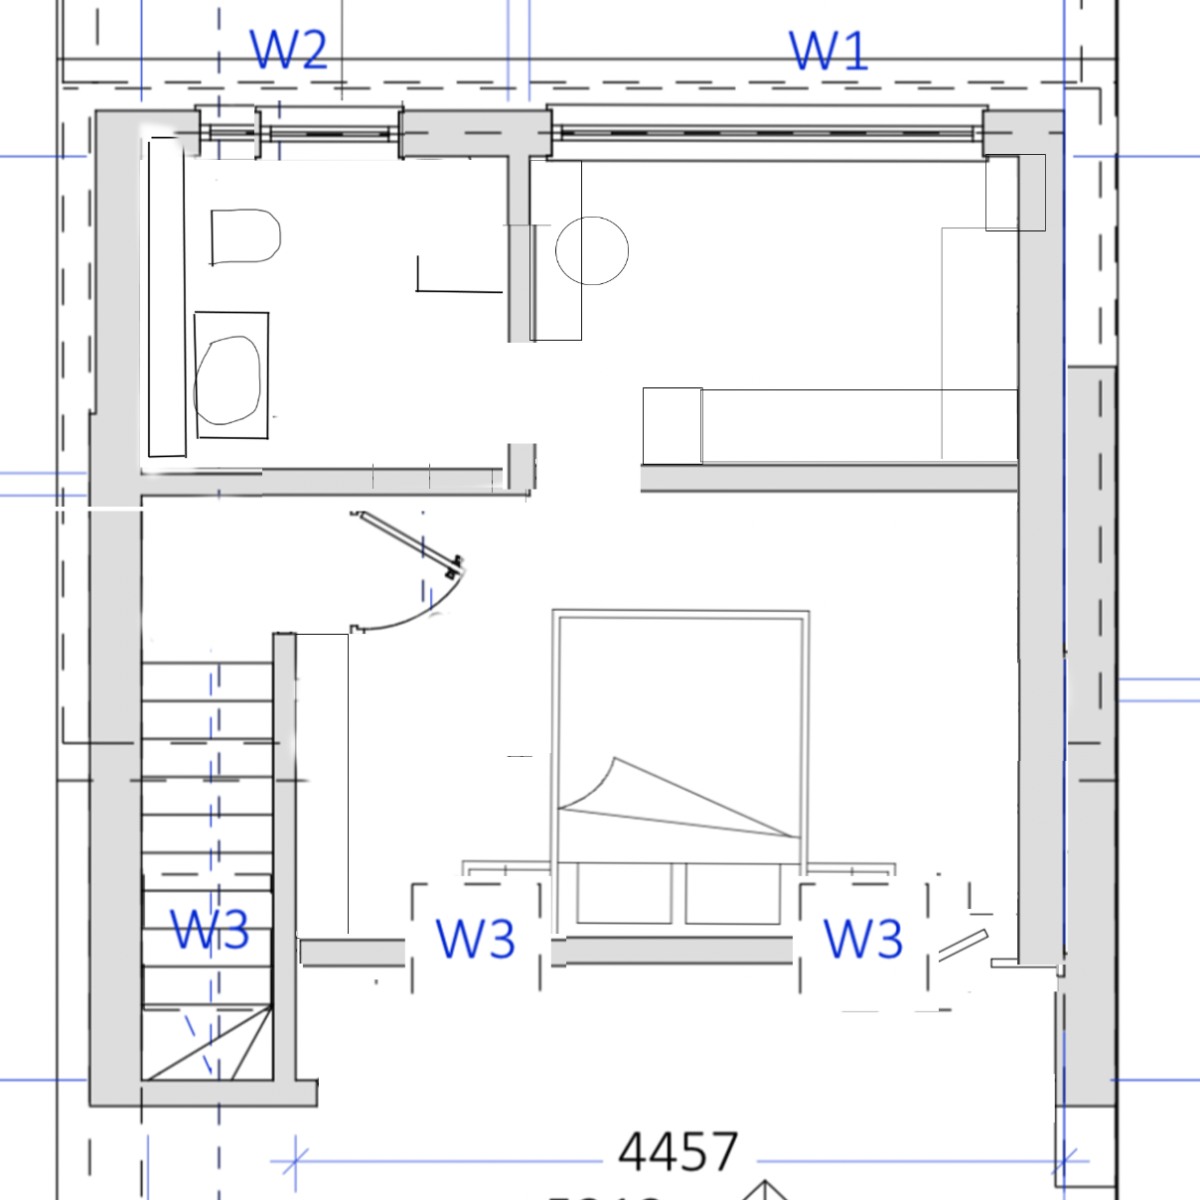
Eventually, I agreed to go for the new and improved layout, which saw the walk-in wardrobe swapped to the other side of the space, allowing us more head height while also giving us a bigger bedroom area. However, another problem I realised at that point was the amount of time it takes for things to arrive. The trades were now ready for the first fix, but I was not. I had to rush around chasing suppliers, cancel items that weren’t going to get to us in time, and order things quickly as I had not fully anticipated how soon they would need fixtures like the towel rail.
Words of advice
So, a top tip for the first part of planning a loft conversion: find out exactly when your bathroom bits will be needed! While this stage was probably the least enjoyable, I think it’s the most realistic. Things change, and you have to be adaptable to that.
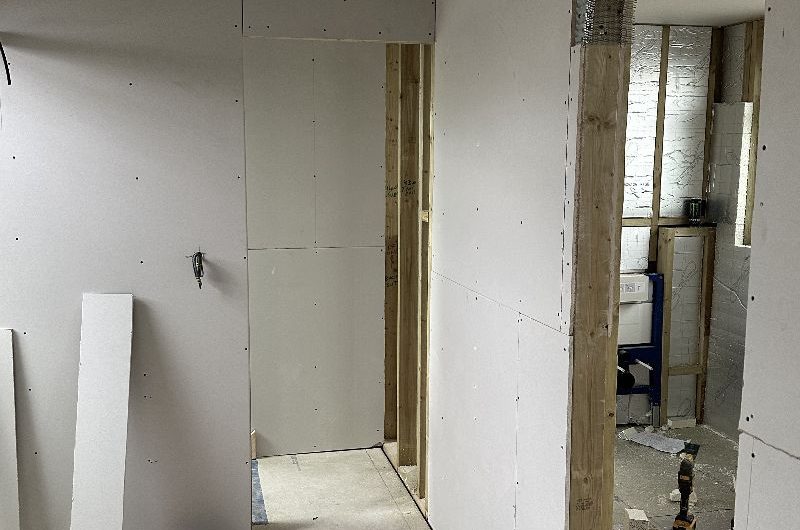
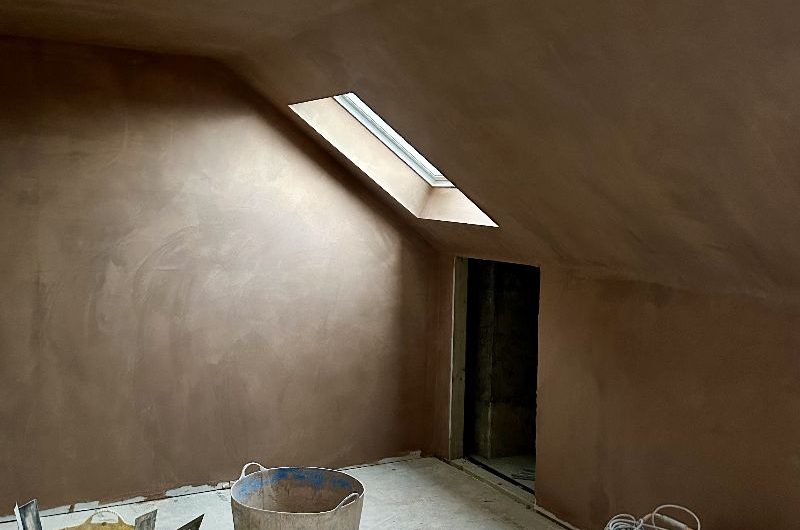
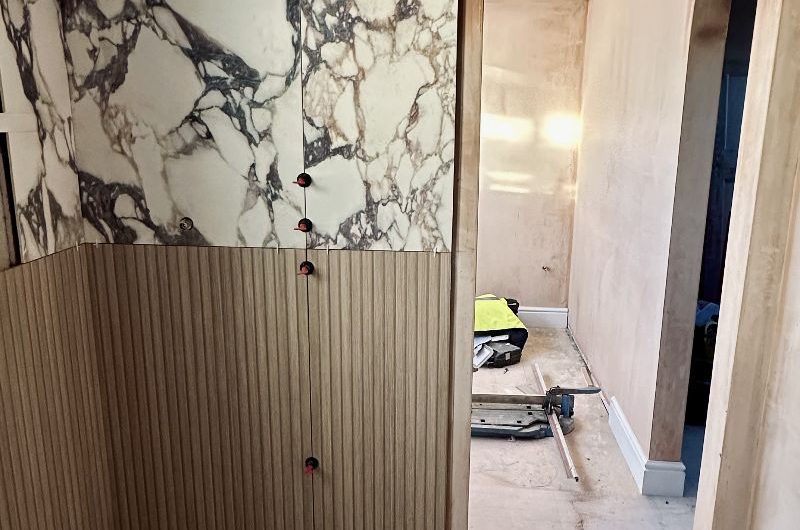
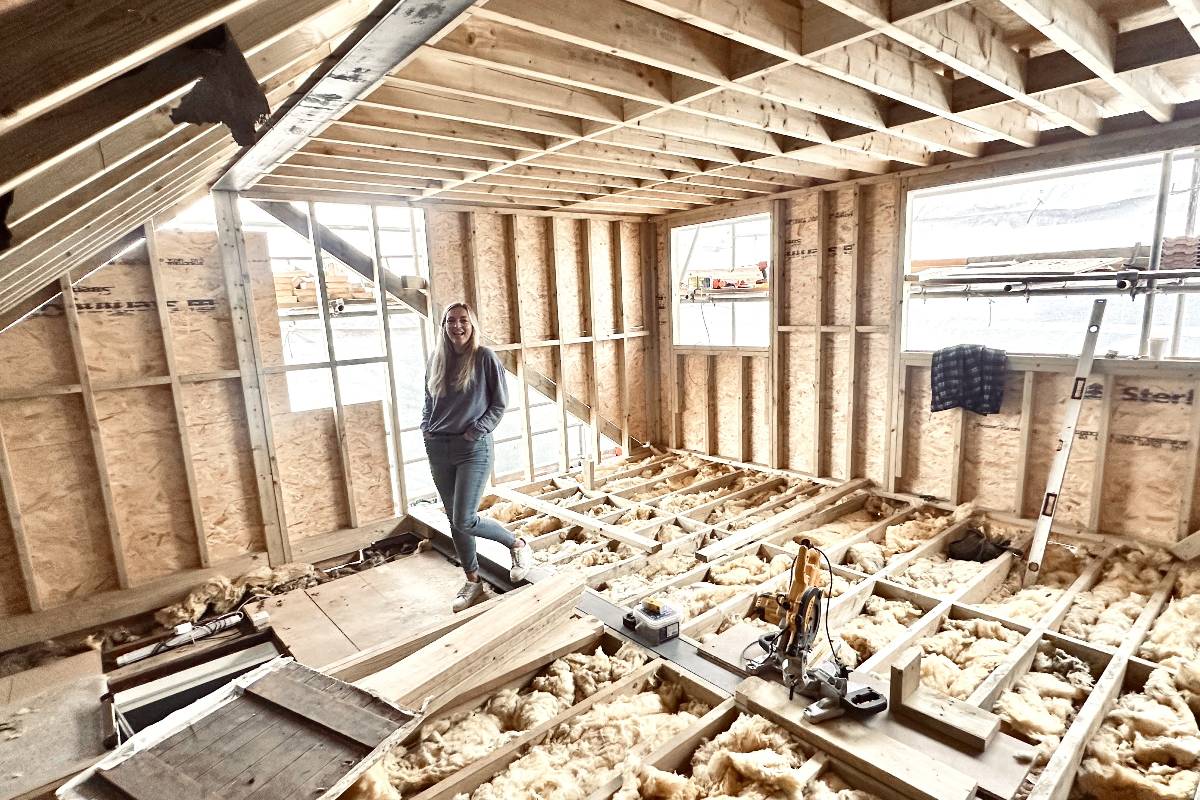
And actually, I do think (or hope) that with the benefit of hindsight, all these changes will work out for best. We were soon into week five and six when the walls went up, lights went in, the plaster was applied, tiles were laid, and the windows fitted.
Meaning by week seven, we were left with a gorgeous shell of a master suite – the snagging and decorating stage upon us…